Your cart is currently empty!
DIY Of Wallpaper
How to Install Wallpaper Like a Pro: A Step-by-Step DIY Of Wallpaper Guide
Transforming your walls with wallpaper is one of the easiest and most effective ways to elevate your space. Whether you’re going for bold patterns or subtle textures, wallpaper adds character and personality to any room. Plus, installing it yourself can save you money and give you a sense of accomplishment! Here’s a friendly, step-by-step guide to help you achieve a flawless finish.
Tools and Materials You’ll Need
Before you dive in, let’s gather everything you’ll need:
- Wallpaper of your choice
- Wallpaper adhesive (if your wallpaper isn’t pre-pasted)
- Measuring tape
- Level or plumb line
- Utility knife
- Smoothing tool or plastic wallpaper applicator
- Brush or roller for adhesive
- Sponge and bucket of clean water
- Drop cloths to protect your floors
- Pencil for marking
- Ladder for those high spots
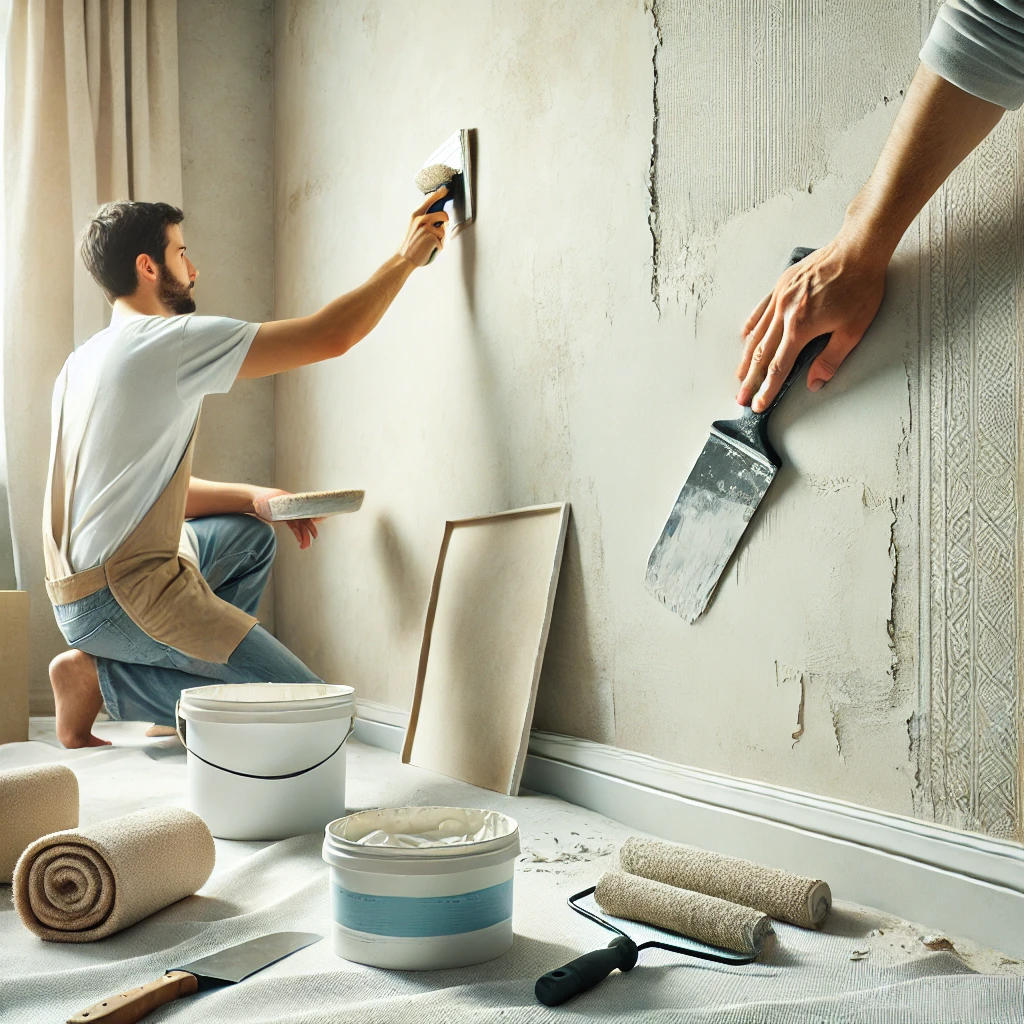
Step 1: Prepare Your Walls

Getting your walls ready is crucial for a smooth finish.
- Clean the Walls: Grab a damp sponge and wipe down the walls to remove dust, dirt, and grease. Let them dry completely.
- Fill and Sand Holes: If you spot any cracks or holes, fill them with spackle and sand the surface until it’s nice and smooth.
- Prime the Walls: Applying a wallpaper primer will help the paper stick better and make it easier to remove later on.
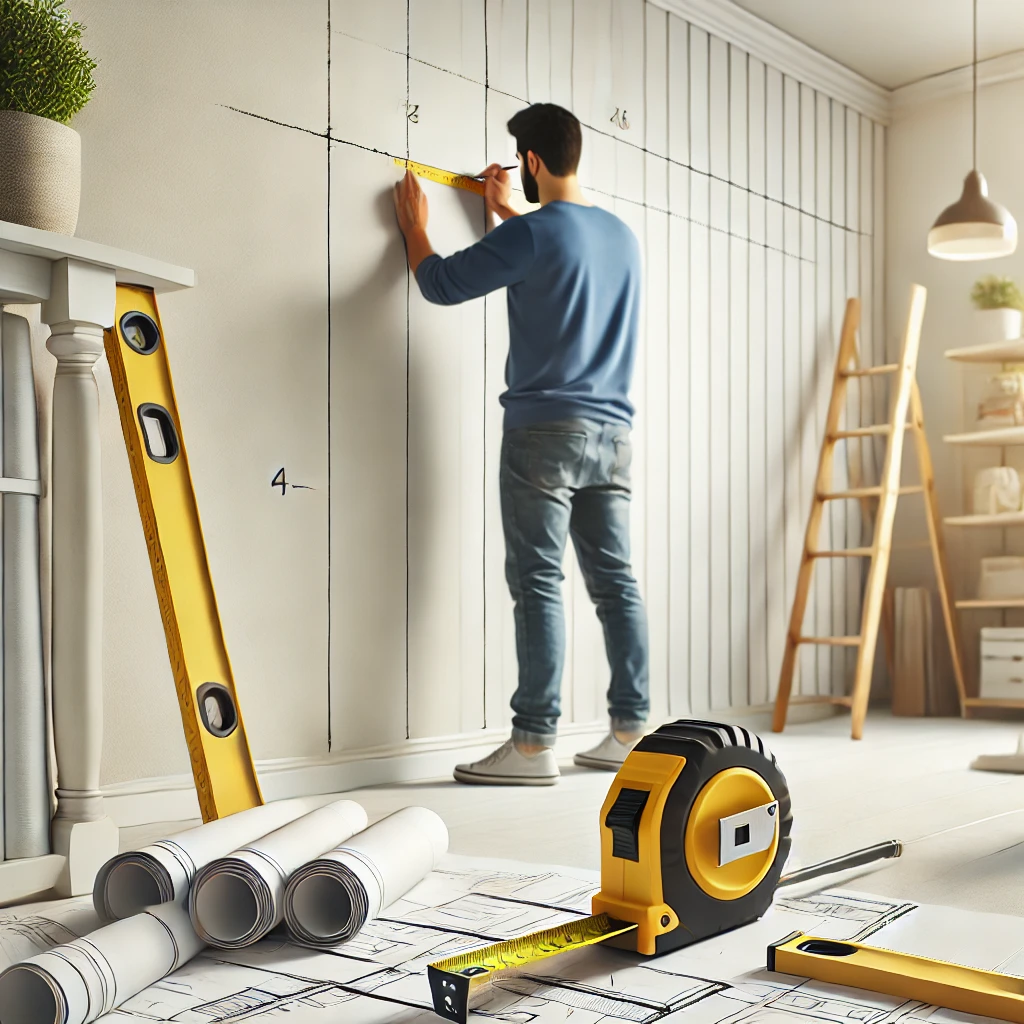
Step 2: Measure and Plan

Now it’s time to get precise!
- Measure the Wall Area: Use your measuring tape to find the height and width of the wall. Don’t forget to add a few extra inches for trimming!
- Cut Your Wallpaper Strips: Measure and cut strips of wallpaper, leaving an extra 2-3 inches at the top and bottom for adjustments.
- Match the Pattern: If your wallpaper has a repeating design, make sure to line it up before cutting.
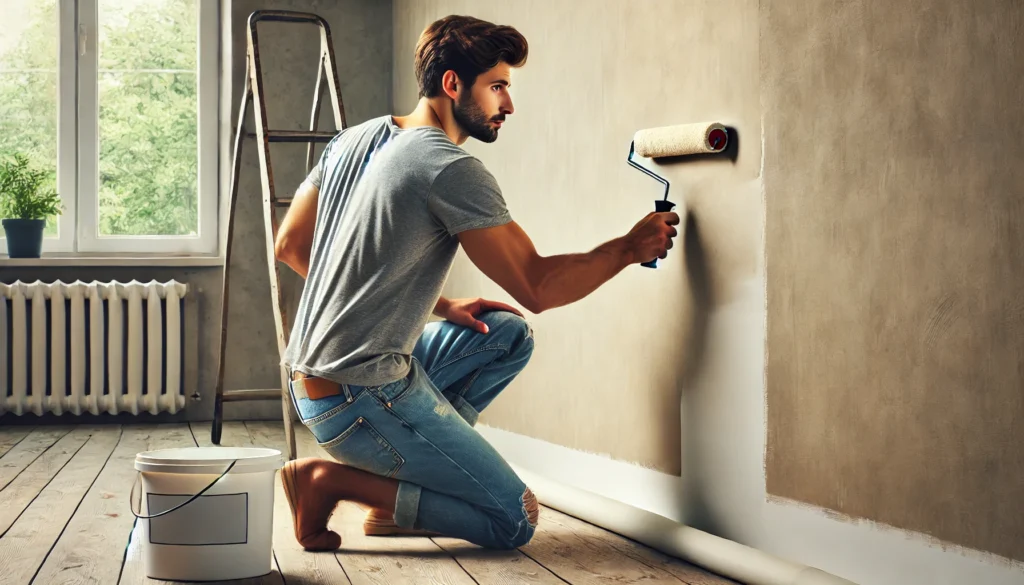
Step 3: Apply Adhesive (If Needed)

Depending on your wallpaper, this step may vary.
- For pre-pasted wallpaper, soak each strip in water for the recommended time to activate the adhesive.
- For non-pasted wallpaper, use a brush or roller to apply adhesive evenly on the back of each strip.
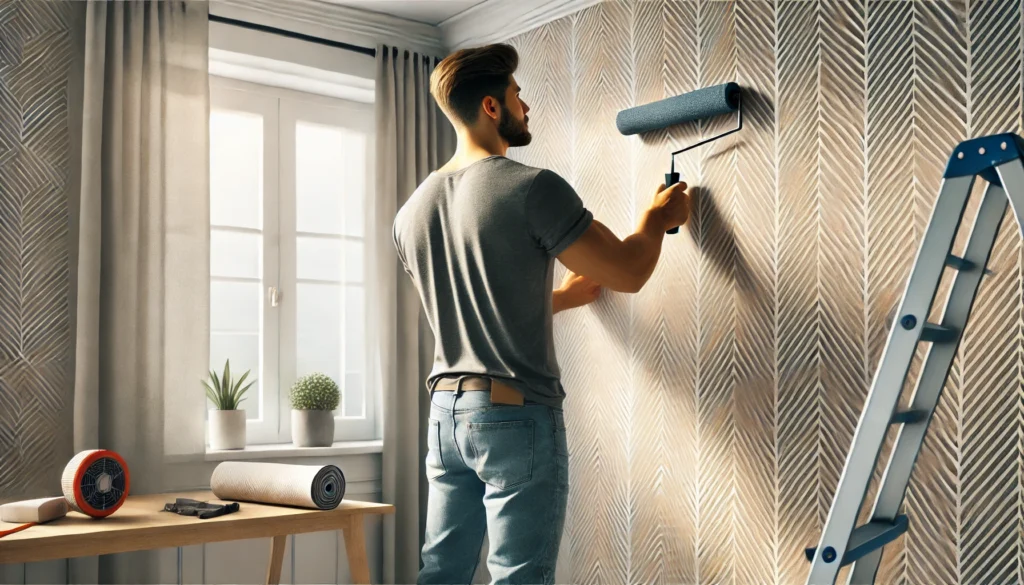
Step 4: Hang the Wallpaper

Let’s get that wallpaper up!
- Start from the Corner: Choose a starting point, ideally a corner or behind a door, to make seams less noticeable.
- Align the First Strip: Place the top of the strip against the wall, ensuring it’s aligned with a plumb line or level. Gently press it onto the wall.
- Smooth Out Air Bubbles: Use your smoothing tool to push out air bubbles and creases, working from the center outward.
Step 5: Trim the Edges
Time for some finishing touches!
- Use your utility knife to trim any excess wallpaper along the ceiling, baseboards, and corners. A straight edge or smoothing tool can help you make clean cuts.
Step 6: Repeat the Process
Keep going!
- Hang the Next Strip: Align the next strip so that the patterns match seamlessly. If needed, overlap slightly and then trim for a perfect fit.
- Remove Excess Adhesive: Use a damp sponge to gently wipe away any adhesive that seeps out.
Step 7: Finishing Touches
You’re almost there!
- Allow the wallpaper to dry for about 24 hours.
- Inspect for any bubbles or edges that need re-smoothing.
- Finally, arrange your furniture and enjoy your beautifully transformed space!
Pro Tips for Success
- Buy Extra Wallpaper: It’s always a good idea to purchase 10-15% more wallpaper than you think you’ll need. This way, you’ll have enough to cover mistakes or future repairs.
- Work in Small Sections: Take your time—focus on one strip at a time for the best results.
- Enlist a Helper: Wallpapering is much easier with a buddy, especially for those taller walls.
Installing wallpaper might seem a bit daunting at first, but with the right tools and a sprinkle of patience, you’ll be amazed at the results. Whether you’re tackling a small accent wall or an entire room, this guide has got your back. Happy wallpapering!

Leave a Reply